How to Set Up Voicemail on Android
If you’ve recently set up an Android phone, you’ll want to set up your voicemail and allow other users to save messages you can listen to later. Here’s how.
Setting up a voicemail account might seem archaic these days, but if you’re missing calls, it’s essential. Whether it’s for work, fun, or in an emergency, a voicemail gives you the chance to hear and respond—even when you miss a call.
If you’ve recently purchased a new Android phone, you’ll need to set up your voicemail service. If you want to know how to set up a voicemail on Android, follow these steps.
Note: Setting up your voicemail on Android varies between devices and carriers. However, the leading companies – Verizon, AT&T, and T-Mobile are generally the same. This guide uses a OnePlus on AT&T, and the steps will vary slightly, but it will show you what to look for on your handset.
How to Set Up Voicemail on Android
A Voicemail app might appear on the home screen during your device’s initial setup, depending on the phone manufacturer. In that case, tap the button and follow the on-screen prompts to set it up. If you don’t have a Voicemail app on your screen, you’ll need to set up your voicemail manually.
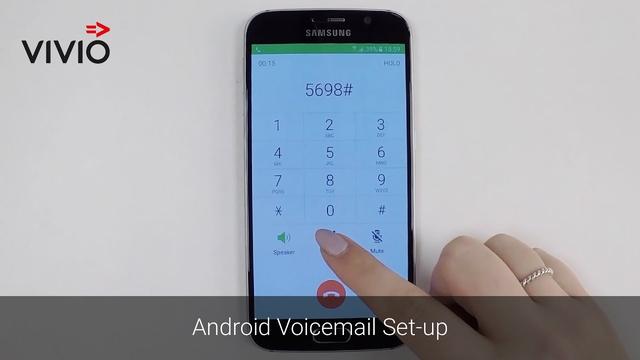
To set up your Voicemail on Android:
- Open the Phone app on your handset.
- Pull up the keypad at the bottom of the screen.
- Press and hold 1 on the keypad to call your voicemail service. Other services will have you dial *86 – consult your service provider if you’re unsure.
- If you have already set up voicemail, you’ll be asked for your PIN.
- For a new account, enter the last four digits of your phone number. If you forgot your PIN, you can reset it by following the prompts from the voicemail service.
- If you haven’t set up voicemail yet, you’ll get a message saying, “Voicemail hasn’t been set up,” or something similar. Follow the voicemail prompts to set it up and hang up.
- Next, hit the voicemail app or press and hold 1, enter your PIN, and follow the voicemail’s prompts to listen to new messages.
Of course, your voicemail service will also provide the ability to save or delete messages, listen to old messages, change your PIN, set up a new greeting, and other features. You’ll also receive notifications when a new voice message arrives.
If this happens, tap the notification to open voicemail and listen to the message.
How to Use Visual Voicemail
Having your voicemail set up is excellent, but you might get tired of dialing in all the time to check it. Most modern versions of Android preinstall the Visual Voicemail app. It allows you to see voice messages, the voicemail calling number, the date it came on, and message length. It provides an easier way to check your voicemail—no more calling in to get your messages.
Note: If you don’t have Visual Voicemail on your phone, check if your carrier has one. You can also check the Google Play Store for a third-party alternative.
You can use Visual Voicemail by doing the following:
- First, open the phone app and press the Visual Voicemail icon at the bottom. Alternatively, find the app on your home screen or search your phone for “visual voicemail.”
- Hit the Play icon for the message you want to listen to. It also provides playback options like pause/play, skip ahead or back using the slider, and hit the speaker icon to play a message via speakerphone.
- To access the app’s settings, tap the three dots on the upper-right corner and tap Settings.
- You can change your greeting, change your password, set up different notifications, and more from the Settings section.
Setting Up Voicemails on Android
If you need to set up voicemail on your Android phone, the process couldn’t be more straightforward. With Visual Voicemail, listening to messages and managing them is much simpler, too.
Try emptying the trash if you’re starting to notice your phone is getting sluggish to use. Or, if you need to join a network with your phone quickly, learn about finding the Wi-Fi password on Android.
Click to commentLeave a Reply
Cancel reply
Your email address will not be published. Required fields are marked *
Related Items:Android, Hero
- Prev
- Next


