www.androidpolice.com How to pair your Wear OS smartwatch with a new phone without resetting it
Wear OS watches are relatively easy to pair and set up, but this process takes a fair amount of time, especially if you want to customize your watch faces and tiles and download apps. But if you happen to reset your phone or switch to another one, you'll need to set up your smartwatch all over again.
The standard process requires you to factory reset your smartwatch before it can be paired again, which means losing your data and customizations and setting everything up from scratch again. Thankfully, there is a way to avoid wiping your watch and use ADB commands to re-pair it with another phone. This process doesn't require rooting either your phone or your watch, and only takes a few minutes to complete. You'll just need a computer, your watch, and either a USB cable or a Wi-Fi connection, although the latter isn't recommended.
ANDROIDPOLICE VIDEO OF THE DAYThis process has been tested on some of the best Android smartwatches, including ones from Fossil and Huawei. However, it may not work with the latest Wear OS 3 ones.
If you have a Samsung Galaxy Watch4, you should avoid using this process, as we've tested it and couldn't pair the watch with a phone after step 4. Instead, we recommend backing it up, resetting it, and restoring the backup. This may be more time-consuming, but it will ensure you won't run into issues and lose your data.
1. Enable ADB Debugging
The first step is to enable ADB debugging on your Wear OS watch, so it's "ready" to receive commands. To do so, you'll need to activate Developer Tools on your watch.
Go to Settings -> System -> About. Then, keep tapping on Build number until you see a message confirming "You are now a developer."
Image Gallery (1 Images)ExpandNow, let's activate ADB debugging: Go back to Settings -> Developer Options and turn on ADB debugging and Debug over Wi-Fi.
This may trigger a prompt on your watch, make sure you accept it before continuing.
Image Gallery (1 Images)Expand2. Open ADB Tools
You'll now need a computer with ADB tools, which you can download for Mac, Windows, or Linux.
Unzip the content and launch a terminal or command window from that folder.
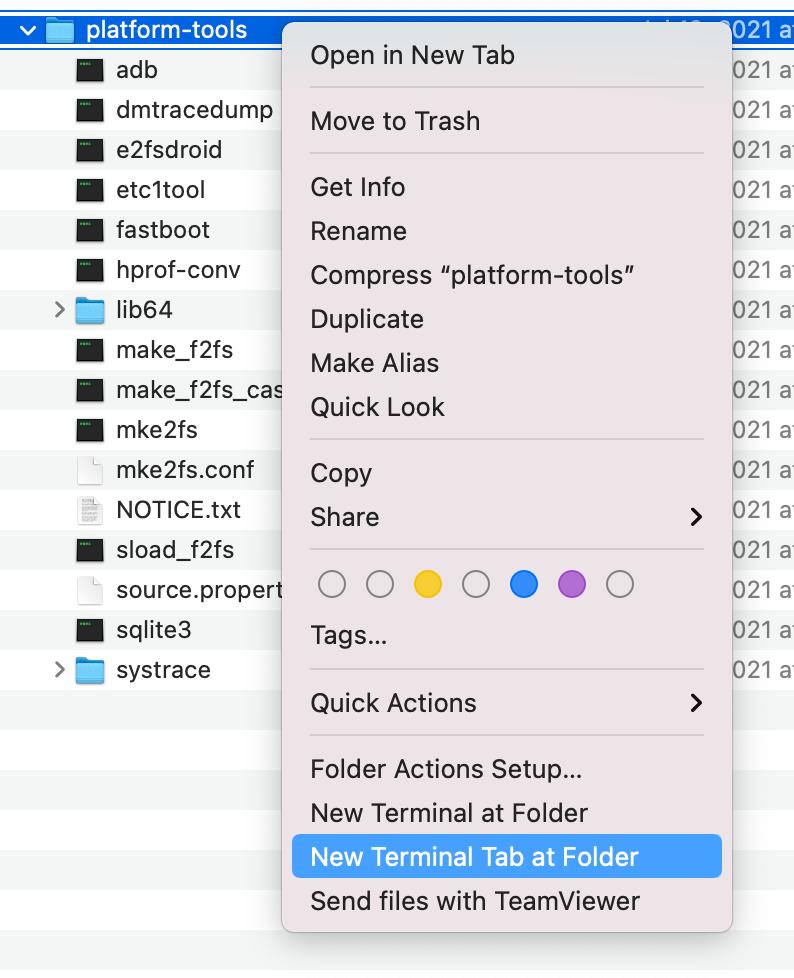
On Windows, that's done by holding shift while right-clicking and selecting "open command window here." On Mac, you'll have to perform a secondary click and select "New Terminal at Folder".
3. Connect to the watch
Before connecting to your watch, it's better to turn off your phone or disable its Bluetooth connection. Then continue with the below steps:
Using a wired connection
It's best to connect using a cable, because it's easy and stable. When plugging the cable into your computer, you may see a prompt asking you if you want to enable debugging. To make things easier, make sure you "Always allow debugging from this computer."

In your terminal or command window, type the below command and hit enter:
adb devices
If you're using a Mac, you'll have to enter it this way:
./adb devices
You should now see your watch's serial number in the list. If it doesn't appear, try unplugging and re-plugging the cable and checking the watch's screen for a prompt to allow debugging.
Connecting wirelessly
To connect over Wi-Fi, you'll need to make sure both your watch and computer are on the same network. Then, you'll have to write down your watch's IP address, which is listed under Settings -> Developer options -> Debug over Wi-Fi.
Image Gallery (1 Images)ExpandIn your terminal or command window, type the below command and hit enter, where [IP Address] is the one listed in the Developer options menu, as shown above:
adb connect [IP Address]
On Mac, you'll have to type it this way:
./adb connect [IP Address]
Make sure you check your watch, as you'll have to accept a prompt to continue the process.
4. Sending the ADB Commands
Now that you've successfully connected your watch to your computer, it's time to send the commands its way.
Start with the below one, which will remove the Google Play Services data on your watch:
adb shell “pm clear com.google.android.gms && reboot”
On a Mac:
./adb shell “pm clear com.google.android.gms && reboot”
Your watch should reboot when it receives the command. Once it's back on, you'll have to repeat step 3 to connect again. I've personally had issues connecting over Wi-Fi using a Fossil watch after this step, so I recommend using a cable.
Regardless, once you're connected to the watch, continue with the below command:
adb shell “am start -a android.bluetooth.adapter.action.REQUEST_DISCOVERABLE”
Or on a Mac:
./adb shell “am start -a android.bluetooth.adapter.action.REQUEST_DISCOVERABLE”
This will make your watch discoverable, so you can pair it with a new phone.
5. Pair your watch and new phone
It's now time to turn on your phone or enable Bluetooth and open the Wear OS app. You should then see your watch and pair it with the phone, just like you did the first time. Thankfully, this wil only copy your Google account to the timepiece and link it to your phone, without erasing your customizations or apps.
6. After pairing
You should now receive your notifications on your watch as usual. However, you may have to re-link your Google account to various apps, as you've erased the pre-existing Google Play Services data in step 4. Once this is done, you may still experience some issues with Google apps, including Google Pay and Google Fit.
This may be solved by erasing the local app data, by navigating to Settings -> Apps & notifications -> App info -> System apps -> Selecting the app -> App Info -> Clear data.
Image Gallery (1 Images)ExpandAlthough this process may seem daunting, it's very easy to complete by following the steps clearly and only takes a few minutes. Most importantly, it's safe and prevents you from losing your data and customizations.
If you need to re-pair your Wear OS 2.x watch, I highly recommend giving it a try.
Google tweaks its launcher in Android 13 DP1 to accommodate a folding PixelIt now supports two independent layouts at different screen sizes
Read NextShareTweetEmailRelated TopicsAbout The AuthorHagop Kavafian(735 Articles Published)Hagop is a tech-savvy guy, who's also into traveling, fitness, biking, food, and planes. He's heptalingual and has lived in 5 different countries, but has decided to settle in Paris for the time being.
MoreFrom Hagop Kavafian- Prev
- Next


