www.makeuseof.com How to Change Notification Sounds for Each App on Your Android Phone
Notifications are essential, but they can become a distraction if you need to check your phone frequently. The musical presets in smartphones can be rather lackluster and perhaps a bit overwhelming at times. That’s why it’s best to assign priority tones for certain apps so that only the most important alerts grab your attention.
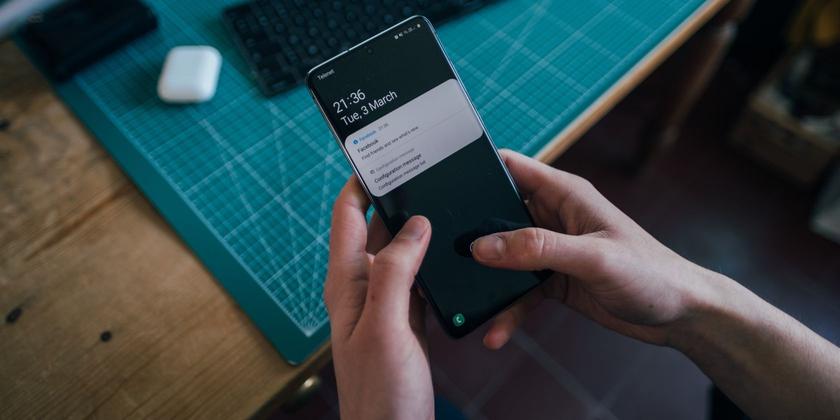
Do you want an incoming email to beep differently from a calendar alert? Your smartphone can offer you a more welcoming and personalized experience. We'll show you how to set up custom sounds for each app so that critical notifications aren't drowned out.
How to Set a Custom Alert Sound in Settings
You can set up custom notification sounds via the default phone settings. Here's how to do this:
- On your device, navigate to Settings > Apps > Your apps (the menu names may be slightly different on some devices).
- Find the app you wish to set a custom tone for and select it.
- On the app info page, tap Notifications and toggle on the slider button for Show notifications.
- You will be able to view a number of notification categories on the Notifications page specific to each app, such as General or Device-level notifications. Choose the appropriate category and select Alert.
- On the Notifications category page, scroll down to the Sound section. It shows the default tone enabled for the app. Tap Sound and select your desired notification tone from the list to change the presets.
How to Use Your Own Audio Files as Priority Tones
Whether you prefer techno beats or classical strings or vintage phone sounds, the default tones just don't cut it at times. They're often generic or just a bit boring. When it comes to setting custom sounds for specific apps on your smartphone, you have the option to record audio clips of your own or use existing songs in your music library. Let's take a look at how to do this.
Step 1: Record Some Realistic Sound Clips
With a little work, you can record your own audio clip using the pre-installed sound recorder app on your phone. You can also use apps such as Voice Recorder for the purpose.
To edit your recordings, try using a free audio editing app to trim and transform the sound clips to the right length and file type. Some apps offer advanced features like multi-track editing, sound effects creation, and adding synthesized instruments. After you've edited the recording to your liking, export it as an MP3 file and add it to your notifications folder.
For our example, we'll use MP3 Cutter and Ringtone Maker.
Download: MP3 Cutter and Ringtone Maker (Free, in-app purchases available)
Here's how you can edit your audio file:
- Install and launch the MP3 Cutter and Ringtone Maker app.
- Upload the recorded audio file.
- Adjust the Start and End handlebars to trim the clip to the required length. You also have the option of mixing in sound effects and merging audio files.
- Click on Save and export the file in MP3 format. Read on to see how to set this file as your notification sound.
Step 2: Set an MP3 as a Custom Alert
Chances are, you might be having a ton of music files downloaded on your smartphone. You can use them as a notification alert of sorts. To cut or trim audio files, follow the steps listed in the section above.
Related: 5 Tips to Beat Notification Fatigue
Keep in mind that the audio file needs to be stored locally in the Notifications folder in your file manager app. Here's how to do this:
- On your device, open the My Files or the File Manager app.
- Navigate to Categories > Audio > Music folder(s).
- Select the MP3 file of your choice and tap Move. Navigate back to the notification folder in My Files > Categories > Audio > Notifications and tap Move here to transfer and store the file locally.
- Once done, go back to Settings > Apps > Your apps and select the app you wish to set up a custom alert for.
- Navigate to the Sound settings (as mentioned in the first section) and you'll now be able to see the music file added to the list.
- Tap on the file to set it up as your custom alert tone.
Control Your Incoming Notifications With Custom Tones
Most of us are bombarded by notifications on our smartphones all day long. Whether it's an alert from an important calendar app, or a message from a social media channel you follow, keeping track of your notifications can be difficult.
Using custom tones for frequently-used apps is a great way to simplify alerts and personalize your notifications while keeping distractions at bay.
Android Notifications Not Showing Up? 10 Fixes You Can TryNot seeing Android notifications show up on your phone? Try these fixes to get Android notifications working again.
Read NextShareTweetEmailRelated TopicsAbout The AuthorCheryl Vaughn(23 Articles Published)Cheryl is a Content creator and strategist with a focus in lifestyle, mobile applications, and digital media. She has reviewed tech products and applications for content, usability and accessibility. She works closely with individuals and businesses to design campaigns that connect brands with customers using the appropriate mix of words and visuals.
MoreFrom Cheryl VaughnSubscribe to our newsletter
Join our newsletter for tech tips, reviews, free ebooks, and exclusive deals!
Click here to subscribe- Prev
- Next


